1. What is Stereo?
Have you ever wanted to create your very own 3D photos from cameras or devices you already own? While 3D scanning technology has been around since the 80s, most of the early methods were either too crude (like contact-based scanners with articulated arms) or way too complex (like laser triangulation arrays). Lucky for us, that’s no longer the case. With today’s technology, it’s much easier to make your own 3D models without any fancy equipment. This is the magic of stereo photos and videos. In this guide we show you a few ways to get convert your stereo photos into depth photos to view them on your Looking Glass Display.
Depending on the person you ask, this phenomenon can be referred to in a myriad of terms — stereoscopy, stereopsis or simply 3D pictures, among others. In any case, it’s a concept that most of us use in our daily lives, even if we aren’t aware of it.
The word “stereo” actually originates from Ancient Greek and means “relating to space”. By forming a composite image from the two images that our eyes see (thankfully your brain does this automatically) we can estimate how close or far objects in our view are. This is what we call depth perception.
Have you ever noticed how flat your vision may appear when one eye is closed?
A normal picture on paper, film or a computer screen is only one-eyed, meaning it is captured one lens and cannot convey a truly spatial perception*–resulting in a* flat picture. By taking two lenses and imitating the way your two eyes see, stereoscopy creates a spatial image.
2. Stereo Photo Maker -> RGB-D -> Looking Glass
If you already have a pair of photos captured from offset perspectives, then you can use the Looking Glass to view the resulting stereo photo. We're working on adding support directly to HoloPlay Studio, but while that's in development we recommend using Stereo Photo Maker by Mr. Masuji Suto.
💡Note: In order to use depth map generation in Stereo Photo Maker you will need to download and use the following executable, we'll go over how to add this to stereo photo maker later in this tutorial
3. Stereo Photo Maker Setup
Download and install Stereo Photo Maker via the link in the Required Software section of this tutorial.
From there, you'll want to move it to somewhere more secure than downloads, like documents or another folder.
After you've got Stereo Photo Maker installed, go to file -> open stereo photo and select your stereo photo from your file browser.
Then click on the Adjust toolbar button and choose Auto-Alignment.
Next we'll need to select Edit-> DepthMap-> Create Depth Map from Stereo Photo.
.webp)
4. Generating Depth
The first time you click on Generate Depth from Stereo Pair you'll see a pop up asking you to specify the location of demag.exe. You should have already downloaded this from the Required Software section of this tutorial, but if you haven't already please do so and move it to a proper location like your documents folder, keep in mind you'll also need to extract the zip file.
On the Pop Up select yes and then choose the folder we made for dmag to live in.
Now you should be all set to generate depth maps!
In the new dialog that is presented click the get values automatic option and click Create Depth Map. If you ignore this step it will not process any depth!

This will take some time so please wait until the process is finished.
Once the depth map is generated you'll see what looks like a red and blue 3D movie image. To turn this into an RGB-D file you can click on the red and blue button in the toolbar.

5. Saving your file.
Once you've click on the side by side button in the previous step all you need to do is save out your file and import it into holoplay studio!
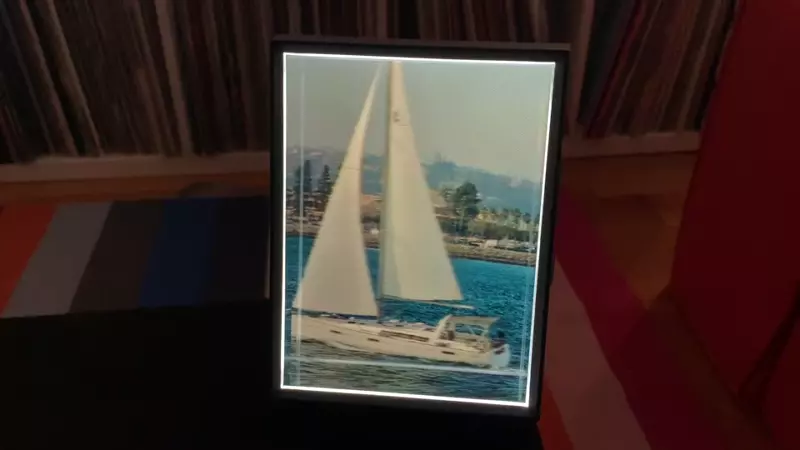
Go to File, Save Stereo Image and give the file a new name, like boat_rgbd

Now just import your RGB-D file into HoloPlay Studio and presto! You've got a hologram! :D