Looking Glass Portrait
First, let's unbox your Looking Glass Portrait.
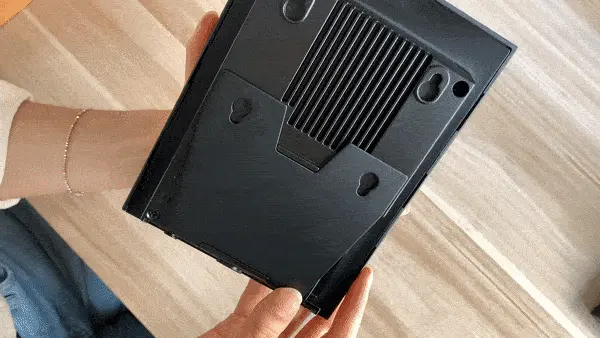
1. Attach the base plate.
The base plate is magnetically attached to the back of the Looking Glass simply slide it onto the feet of the Looking Glass Portrait like shown here. No Screws Required.
2. Attach the USB-C cable and connect your portrait to wall power.
Tap the power button, this will switch the Looking Glass Portrait on to Stand Alone Mode and will start playing back a demo reel of incredible holograms made by us here at Looking Glass and also by a few of our amazing artists in our community. (PS, you can join our discord, and the fun, here.)
Use the three rectangular buttons on the side to navigate through the demo reel. The top most button will go back, middle button will continue to the next item, and the bottom button will pause/play the playlist. You can hold down on the bottom most button to toggle a "repeat once" loop.
Congratulations on your first step through the Looking Glass! 🎉

Desktop Mode
Now that you've seen all the cool demo content in Stand Alone Mode, let's setup your Looking Glass in desktop mode so you can start creating your own holograms.
- First, Power down your Looking Glass by holding down the power button.
- Then, Unplug the USB-C cable from the wall adapter, and plug it into your computer.
- Plug the HDMI Cable into the Looking Glass Portrait and your computer.
- Push the power button on the side of the Looking Glass.
Tip: If you have both the USB-C and HDMI connected to your computer, you can switch between desktop and stand alone mode by tapping the power button, no need to unplug cables.
Once you've followed these steps you should see your Looking Glass turn on, and it should be showing your desktop background.
Display Settings
Before we can start playing with holograms we'll need to do a little bit of setup first. Once your Looking Glass is running in desktop mode, navigate to your Settings app and then go to Display Settings. You'll want to make sure that your Looking Glass is set to Extended Display mode and, on windows, is also set to 100% scaling.
Now, let's download Bridge
Looking Glass Bridge facilitates communication between your computer and any connected Looking Glass devices. It's required to view holograms on the internet, run Looking Glass applications, and use development tools - so let's download and test it before we continue!
Once you've downloaded and installed Looking Glass Bridge, click on the button below, after a second or two you should see a hologram pop up on your Looking Glass!
Please note this button won't work in safari, so be sure to try it in chrome or Firefox if you're on MacOS.
Accessories

Leap Motion Setup
Some applications are controllable via the Leap Motion hand tracking hardware. To use these features, please download and install the V5 (Gemini) version of the Desktop SDK.
Ultraleap software is already installed on computers purchased directly from Looking Glass Factory.
Once you've got Leap Motion Sensor plugged in and the Ultraleap Gemini tracking installed, launch the Ultraleap sensor setup & load the UltraLeap Tracking Software. This will allow you to use your Leap Motion Sensor with any compatible apps you have installed. You can learn more about how to start developing interactive applications for the Looking Glass here and here.
We hope you've enjoyed your experience so far! If you're looking for what to do next checkout some of our creator tools below! We've got great plugins for unity and unreal, as well as an amazing add-on for Blender. A world of creativity awaits, we can't wait to see what you make!
If you've had any trouble getting started, please email us. We're here to help!